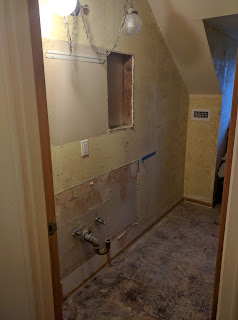
As a refresher, this is what our bathroom has looked like for the last two years. We haven't really been using it all that much.
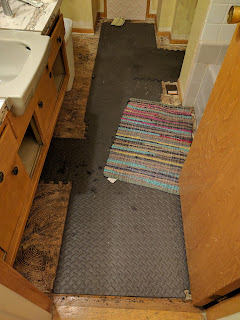 |
| The original flooring was asbestos tile, which we got removed in the first month of home ownership. The subfloor around the tub was slowly crumbling. We added some exercise mats to access the bathroom in the interim, but mostly avoided using this room. |
 |
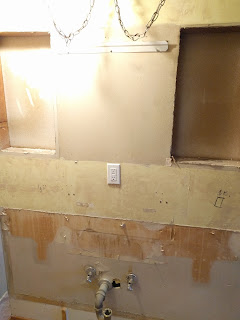
| retro medicine cabinets and light fixtures. definitely not my style. |
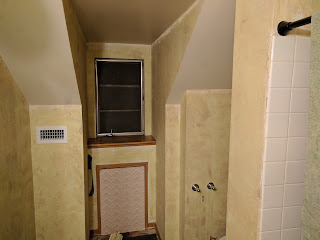 |
| The walls had all the glue residue in a gnarly texture, a remnant of that lovely pink zigzag paper you can see on the center panel. With all the quirky angles in the bathroom, it also had this weird double-wall (to the right of the window) and an extra-thick wall around the shower. Our aim was to streamline all of the needless excess angles. |
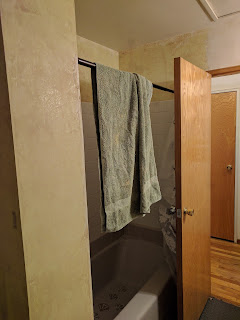 |
| The gray tub had seashell stickies that were difficult to remove, but slowly breaking apart over time. The tub was also an old cast iron tub coated in a leaded porcelain, not something we'd want to keep in our house. |
Rule #1 when starting a renovation project: do NOT start the renovation on the last day of a 4 day conference when you've been out and about for all hours and are completely and utterly exhausted. Too bad we didn't follow this rule.
Rule #2: research and pick out what you want BEFORE starting the renovation project. Too bad we didn't follow this rule either.
...
I came home from the conference to this:
 |
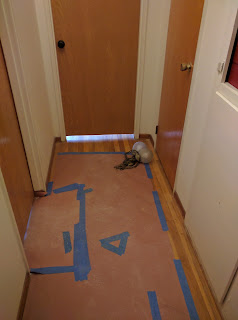
| floor covering the floor and stairs on the front entrance. |
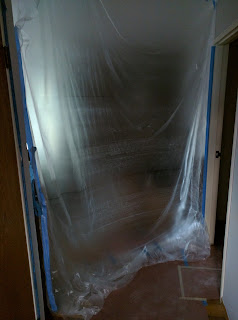 |
| plastic set up to block the living room from the dust and debris. |
 |
| bye bye sink and vanity |
 |
| bye bye medicine cabinet |
 |
| bye bye funky wall thing |
 |
| bye bye shower and tile |
 |
| bye bye tub |
There was more chaos in the house, but that will be covered in another blog post.
Because we were also getting some work done, we moved into the guest room
So we spent the week going to work, coming home, and then going to stores (or online) picking out things like sinks and paint and tile. Not the most restful relaxing experience.
While we searched, they worked:
 |
| bye bye light |
 |
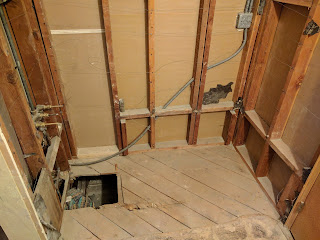
| electrical work to add new GFCI outlets |
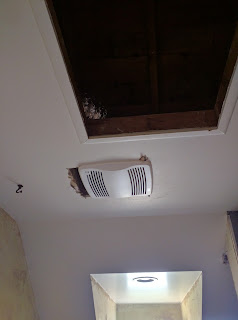 |
| new air vent |
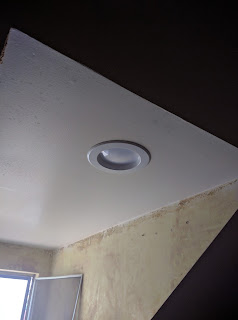 |
| new can light by the window/toilet |
 |
| new can light for the shower |
 |
| and a scary discovery in the wall of some old razorblades. ick. |
We were going to turn the thick wall into a pony wall, and shift the plumbing to the opposite side, but after the wall was opened, we determined that the sewer drain was going to be too much of an added renovation cost to an already-over-what-we-wanted-to-spend remodel budget. So no extra natural light to the shower, but such is life.
And then there was the tub. We won't go into the tub too much, but the first tub I didn't like. So that meant, time to hunt for a new tub. And hunt, and hunt, and hunt. and weigh the pros and cons of a steel/porcelain tub versus an acrylic tub. After a lot of discussion and a call to a wise guru (thanks, Steve!), we decided that the expensive acrylic tub that was very deep and very comfy (and would require extra steps for installation, including a mortar base) was not the one for us. A combination of us not liking the concept of an acrylic tub with a finish that could be damaged easier, the added installation costs, and the extra water that would be used in each of the (glorious) baths taken. We did just come out of a 4-year drought after all. Instead, we opted for an American Standard Americast Cambridge tub, an engineered tub that is "a high quality porcelain surface with an enameling grade steel and a molded reinforcement composite backing." It is a small deep soaker tub, deeper than normal tubs, but still not incredibly giant. I think it will be a happy medium.
The only minor catch was waiting nervously for a week for the tub to be delivered. Every time we looked at the tracking information, it told us that we'd get the tub in TWO weeks. A bit stressful, but 6 days after ordering our tub, it arrived. Deposited on our doorstep without even a knock or a doorbell ring. Luckily, we were home at the time and brought it in.
 |
| tub take 1. I was not a happy gail. It was very shallow. |
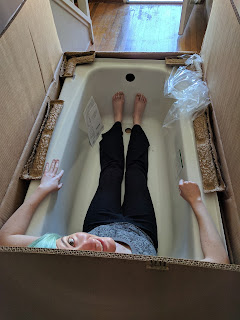 |
| Taking the new tub for a test drive upon arrival. |
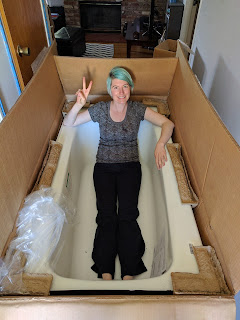 |
| looks like i fit! |
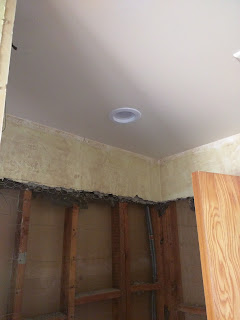
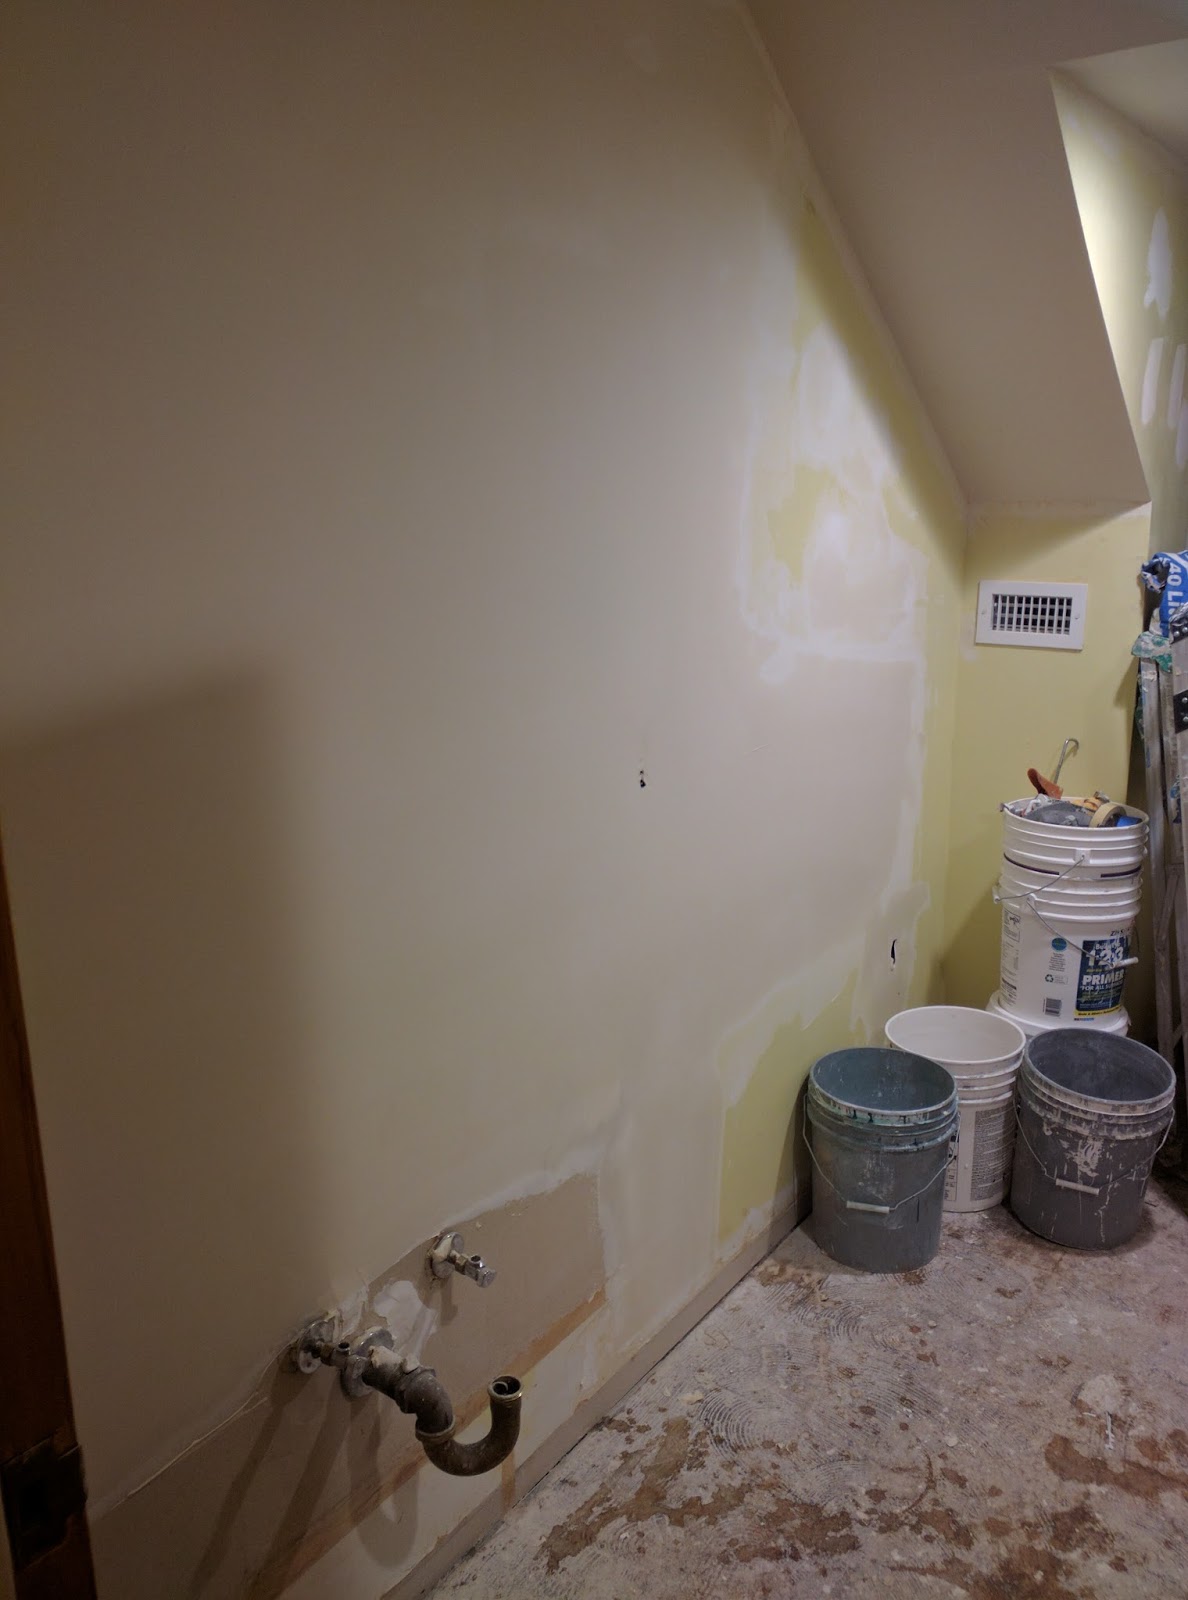
While we waited for the tub to arrive, the contractor tried to continue with as much as possible in the bathroom. Scraping the drywall, patching the drywall, and paint. I know that the painters hated us. I was very....particular...with what we wanted for the paint.
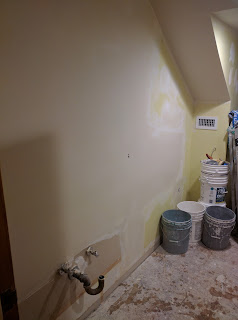 |
| drywall repair 1 |
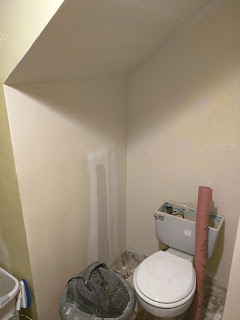 |
| drywall repair 2 |
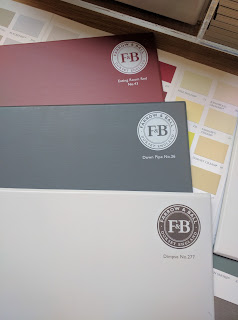 |
| the colors we found at Farrow and Ball. But after buying really expensive, really tiny samples, we decided to find the closest match at Dunn Edwards. |
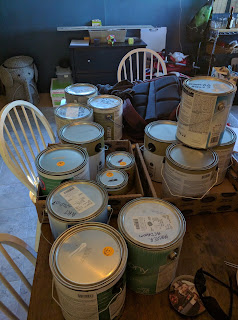 |
| a spot of paint. not all for the bathroom, however. |
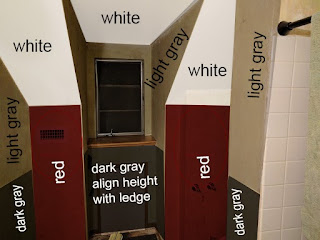 |
| my photoshop mockup instructions to the painters. Told you they hated me. :) |
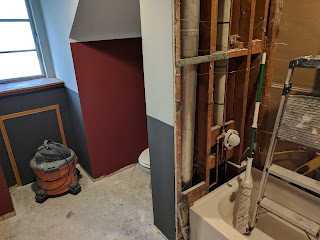 |
| The finished paint |
 |
| the next day they were able to paint the frame around the access to the attic crawl space, so it blends into the wall. |
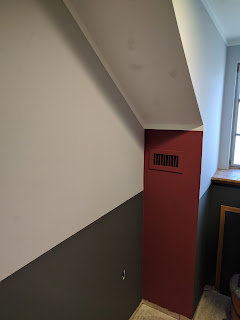 |
| our gray, charcoal gray, and red dramatic combo. |
Next week, tub and tile and more!


