Wednesday, April 22, 2015

More work, more painting, and lots of expenditures

So since mid week last week a lot has changed,  This weekend we got a lot done, and we got to hang out with our friends on Saturday.

First we started with pulling the carpet padding, then the tack strips.  This was a long and painful process.  Throughout the whole procedure you are either on your knees or bent over pulling staples or using a crowbar to pry up tack strips.  We were able to get 100% of the tack strips and 50% of the staples out over a 5 hour chunk of time from the upstairs.  As it is now the Wednesday before move in date and that is still the state (for reasons I will state below), there is some concern over how clean / ready our place will be when our furniture moves in on Saturday.  But there are a lot of hours between now and then, and we feel we can be ready.

After last weekends excitement of flooring, Gail decided to tackle sanding and painting the kitchen.  This process is 100% sanded and 25% painted at this stage because of everything else that has been going on.

What else has been going on?  Well, we now have a new tankless water heater, and a new HVAC system that is mostly installed, tomorrow it should be completed.  Additionally the drywall contractor has been sealing up holes, and skimming the ceiling.  Lots of changes.

Pictures!

Gail power sanding the cabinets


Power sanding is very messy

That is the blue that is going to be the back wall of our cabinets, we are going for white shelves, doors, and framing on the top, and a deep blue on the bottom.  The color there is Splashy!


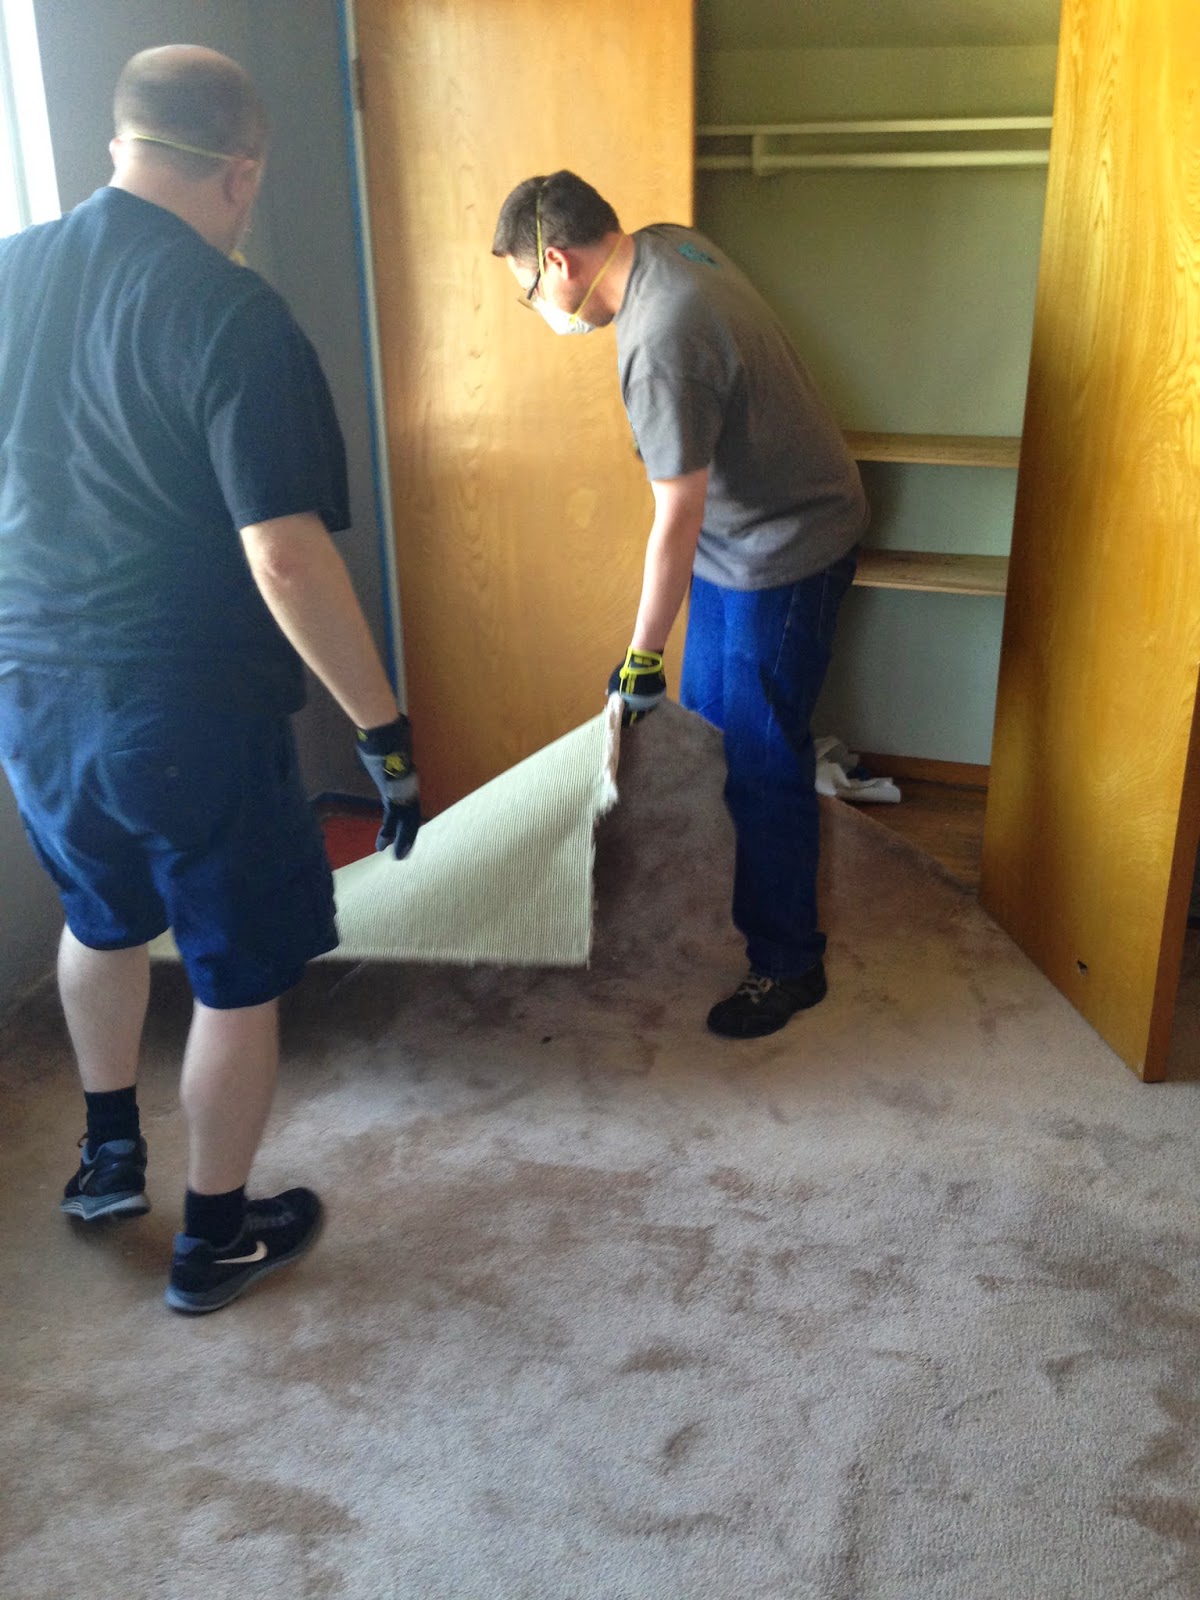
Pulling staples from upstairs

Shopvacing the dust

Tack strip and staples

Pry bar hammered in under the tack strip.  I got into a pretty good rythm and was able to tear up the strips fairly quickly.


All those little tufts of carpet padding hide staples that need to be pulled out before furniture comes in.


Monday, April 20, 2015

Swamp Cooler

We did a mid-week project at our house...nothing major, just pulling out a swamp cooler.

Suiting up...it's nasty up there!
Me in the attic, Eric looking at me through the ceiling below.
Yay for headlamps!
There's some holes in the closet now. The old intakes were running through the center of the closet. Square hole is the front wall, where the registers were.
Round hole in the back of the closet.
The trash pile grows some more
We have a 1-car trash pile. It's time to schedule a pickup!

We have it on good authority (a 7-year-old's) that there are now 21 holes in our house! We'll be getting those fixed in the coming weeks.

Saturday, April 18, 2015

Bye-bye asbestos, hello friend

I still seem to be writing these posts for the previous weekend after we start the current weekend's projects. This week is no exception, but I'll keep what we're working on a secret for now.

We got the asbestos pulled out during the week, so first order of business was assessing the damage. We have subfloors in the kitchen and dining room (well, technically, subfloor in the kitchen and beams in the dining room. We'll have to add a new subfloor at some point.

subfloor and beams in dining room (beams only was in the section that was added on after the original house was built)

giant holes where there were knots in the board...they are holes directly into the raised foundation crawl space. We'll have to get those covered soon.


We're also short one ceiling in the living room now as well. We were worried about what that would result in but we were actually happy it happened, because it revealed that the swamp cooler pipe from the art room ceiling was just one of a network of tubes that are still in the attic, even though they are not working or connected to anything. 

the duct in the lower left corner is connected to the tubes waaaaaay in the back that you can just barely make out

we found that our range hood is nicely venting out to the back of the house, and not into the attic as we feared.

swamp cooler tubes


We had a visitor last weekend: Scott! So naturally, we put him to work. The guys started with removing the panelling in the living room, then proceeded to tackle taping off the computer room, pulling up carpet upstairs, and taking down all the kitchen cabinet doors

we're ready to tackle the panelling 

behind the panelling? More panelling!


lots of nails

luckily, behind panelling number 2 was drywall. 


removing lots of nails. and yes, i've been told that i'm hyper with the fancy mask, but i like my lungs.


lots of nails in the wall, and we discovered the panelling was all there to cover up a weird hole that was flush with the drywall.
tackling the carpet


we left the padding as a drop cloth for painting, but we will be removing that this weekend, since we won't have the drywall repaired before we need to move in.
yay! the hardwood floors are in decent shape (minus any holes from tacks, naturally.) 
cabinets, sans doors
While they were tearing down items, I was still working on the kitchen cabinets, continuing to plow through the shelf lining (which i officially hate now). After that, I moved to putting up the first coat of paint in the computer room.
found this momento in the bottom corner of the pantry cabinet...vanilla butternut cookies anyone? 
while I don't like cabinet lining, i thought the design of the instructions on the back was pretty fun! from another part of the instructions: "IT COVERS! IT DECORATES! IT PROTECTS!"
the paint color in the computer room was really hard to photograph. Its almost the same shade as the current paint, but it's a gray instead of a peachy color. 
one room, 2 brushes, 2 rollers, two paint trays, 1 gallon, 3 hours. killed it.  
removing kitchen doors

29 kitchen doors later..

our peek-a-boo cabinet

tired scott
the fridge will need to be Scott height. ...maybe slightly shorter