Tuesday, July 11, 2017

The chaos continues...


Guess what?! This photo you see is our new bathroom. ish. well, eventually it will be. We are back with renovation progress updates after a boring hiatus of paying off loans and saving up money for this project. More to come...

Sunday, February 28, 2016

The never-ending kitchen

We have been working an hour here, an hour there on the house over the last few months to leave me enough time to work on my illustration projects. As such, any project longer than 15 minutes seems to take many weekends to complete. Add to that the fact that our kitchen is unpacked and being used regularly. This will explain why I'm STILL painting the kitchen cabinets. I did veer slightly outside the kitchen to the cabinets that extend into the dining room area. Learning from earlier mistakes, I primed and painted all the the cabinets white first, then I masked off the shelves so that I could paint my favorite teal color, Splashy, on the back and side walls of the cabinet. It worked 98%...there was a little bleed under the tape that I had to touch up. I think I'll try wiping the tape edges with a damp rag next time, since the adhesive activates when wet to form a good painter's tape seal. 

I also primed and painted the non-accent walls in the dining room. These are getting another shade of gray, this time a light warm shade similar to French Gray. It's slightly darker and more neutral than the color that was already on the wall, dark enough to make the top white cabinets pop with contrast, but light enough that the dark blue bottom cabinets also have a lot of contrast. I will carry this color into the kitchen as well if I ever finish removing the wallpaper in that room. That's another project for another month. 

To some degree, it feels silly painting the cabinets when I know we want to remodel the kitchen, but our next major renovation project is the horrible upstairs bathroom. So that puts the kitchen at least a year or two out, and I'd rather have pretty cabinets now and look forward to optimized kitchen design later. Possibly by then we'll be done with the teal and want something entirely different. 

Other minor improvements: framed some artwork to be hung in the dining room when fully completed, installed downstairs hall light, failed at installing the art room overhead light (doh!), bought a rug for the TV area, installed curtains in the art room, cleaned the work area in the garage.

The "dining room" kitchen cabinet complete!

Eric installing the hall light. Two of the screws were too long, so we learned how to trim screws without damaging the threads too much.
The finishing touch
One hops that the light will be more effective when it's dark in the house, since it's not very bright in this photo.

Finished the final teal coat on the new home for the microwave to get it off the countertop. 
Shiny!
We drilled a hole in the side of the cabinet and threaded the cord through the gap between the two cabinets. This is below the cabinet next to the microwave.
The new art curtains are light and airy with a fun pattern--just enough to block the light from directly hitting the laptop on the left table during the day, but still allows nice breezes when the windows are open.
The kitchen has invaded the dining room for the foreseeable future. 
Priming the wall and the cabinets. where the cabinets change height is the demarcation between the kitchen and dining room. You can also see a good shot of the original cream/yellow wall color.
The new wall color. It's creamy and pretty :)


Tuesday, December 29, 2015

Ombre and light

With some time off during the holidays, we we able to make noticeable progress on the house one again. We had plans to host Eric's mother and aunt for dinner shortly after Christmas, so that gave us the push and incentive we needed to get a number of smaller projects finished as well as making a good start on a larger project: the dining room.

We aren't a fan of wood paneling at the best of times, but we had concerns the wood paneling in the dining room was used in place of drywall. As we worked out a pesky screw mount, we did indeed determine that is the case. So luckily, we didn't attempt to remove the wood panelling in the dining room. Instead, a good patching and priming gave a solid foundation for the fun that was to come next. We've always said that we wanted to create a dining room that feels like the Blue Bayou restaurant in the Pirates of the Caribbean ride at Disney. So to set the mood right, we needed a rich palette. Also, we wanted to make use of the paint that went unused as a reject from the master bedroom. With that and a $5 gallon of off-tint teal from the paint store, I decided an ombre accent wall was in order. It still has a long way to go, with a few more shades of teal added in and a second coat of the dark blue, since the first coat was very thin and washy, but we're pretty pleased with how it has turned out. We will be painting the trim around the windows white after the ombre effect is complete and once we have the privacy screen of plants outside the window, the light though the day will be beautiful and slightly magical in feel.

In addition to that, we finally installed a light over the dining room table. Now our friends who have previously dined with us have graciously put up with candlelight meals will have fake candlelights to light all their meals henceforth. :) After a frustrating rejection of 90% of all the light fixtures we came across, we chose a box chandelier as one of the few we could agree on that we both liked. It works with our overall style and still gives a nod to Blue Bayou.

We hung a number of art pieces around the house finally so the rooms no longer look like empty boxes, although we need a few more pieces hung before the house can be considered "the eclectic artist's house."

A bit more lighting got installed in the coat closet and the back yard. We also prepped the curtains to be hung in the living room, but then realized that the longest curtain rod that we were able to buy was not long enough, so we'll have to figure out where we can get a 125 inch curtain rod that's not to expensive before we actually get the curtains hung.


paint tray #1

paint tray #2


Coat #1 of the ombre effect. The goal for this pass: get rid of the white.
Next coat or coats will help me even out the fade effect to something a bit more even. 


closet light with motion sensor

the curtains we didn't hang on the curtain rod...

...they did hang everywhere else in our house

like the stairewell

and across chairs


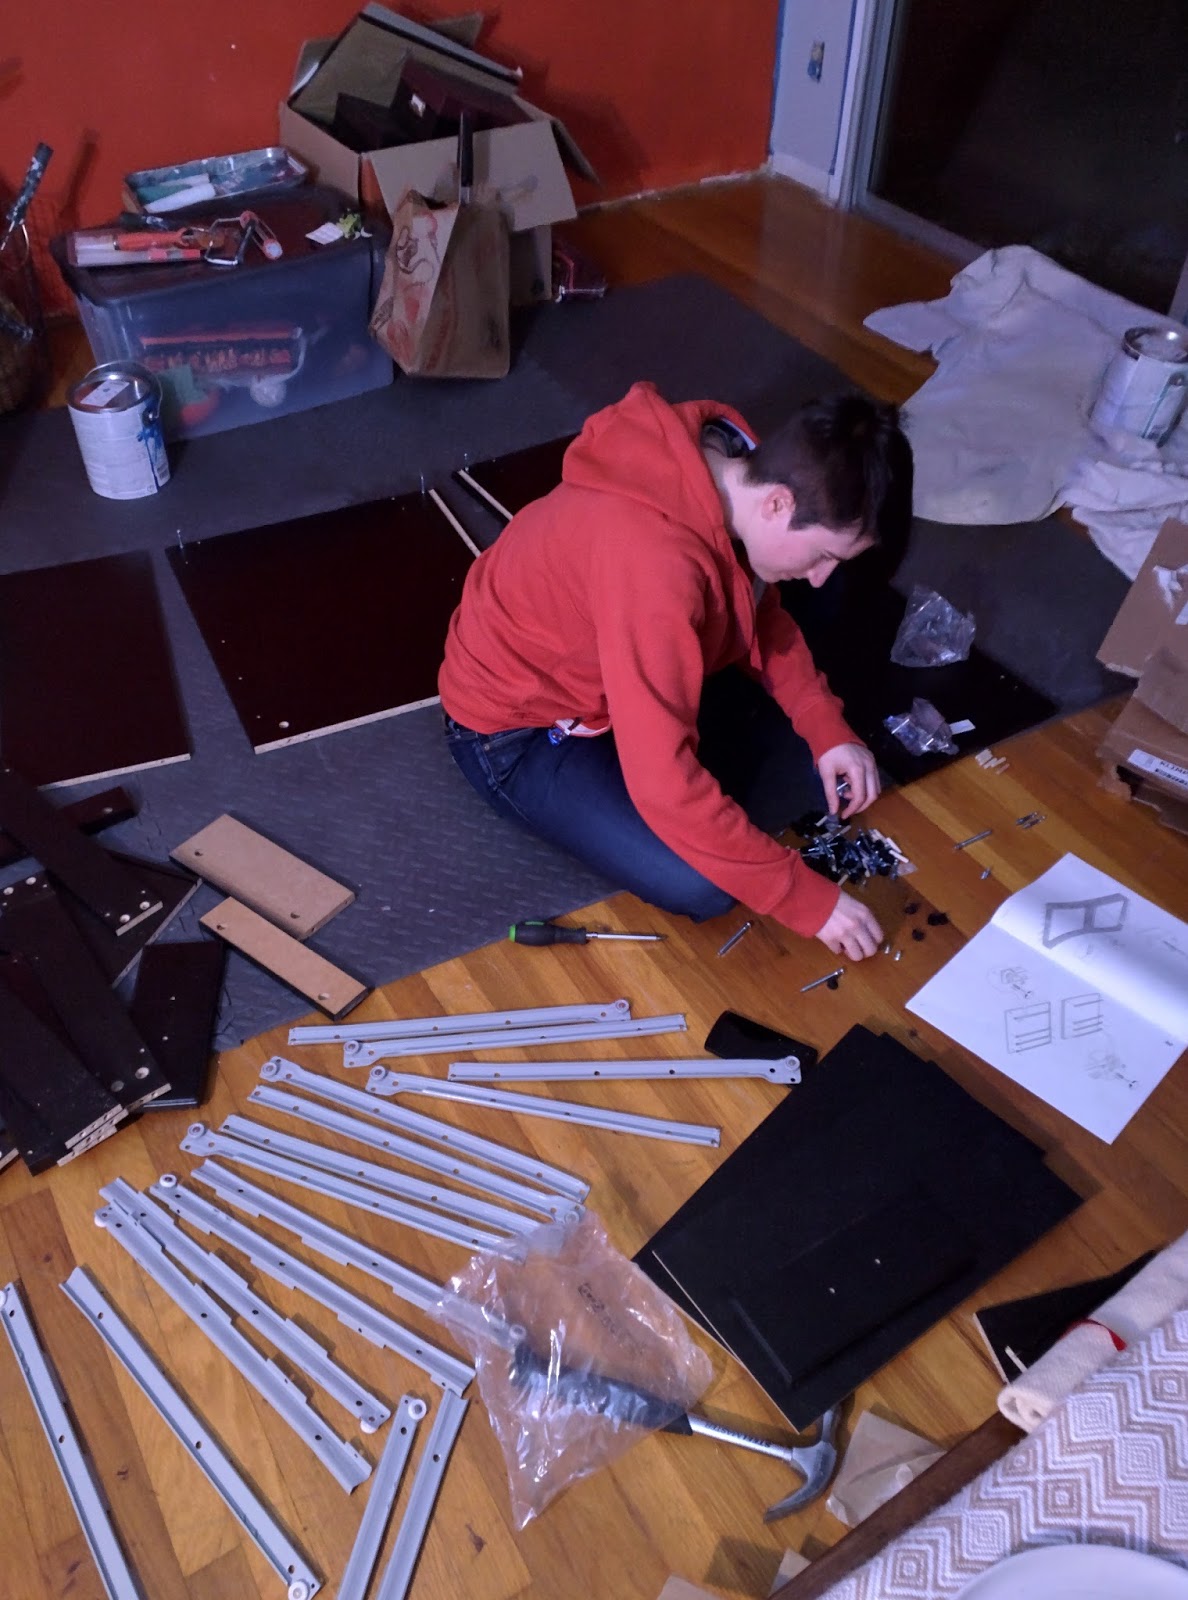
Eric putting the finishing touches on the light that we connected twice, since we almost forgot to put the cap screw on the chain. 

well-lit patio for future gatherings. It was way too cold out today. 


table set for dinner with the family. 

graphic location canvases: New York, Paris, London, all places we've been.

Tuesday, October 27, 2015

Bathroom finished, Painting redone, and Ikea

So the last month has been mostly busy with life.  This weekend we got some time to work on the house though.  Knowing that I disliked the paint color previously selected (I have decided that I don't care much for the color blue indoors), we purchased a new tint of living room paint.  It is a grey that leans heavily in the brown spectrum rather than blue.  Then I embarked on finishing up the downstairs bathroom.  We had left the downstairs bathroom without one baseboard, and as such I purchased a nailgun, cut some baseboard and went at it.  During that time Gail painted.

Gail assembling Ikea furniture:


Yay! Our new end table for the couch.

My project of a monitor stand I think turned out well:


New nail gun toy for baseboards:

 Baseboards are done and the bathroom is finished:


 Me cutting the baseboards, this was a dremel but I also used a chop saw:


The new living room color.  It is actually more gray/brown (Gail says warm gray) then it comes up too in this photo:


The goods at Ikea!