Tuesday, October 27, 2015

Bathroom finished, Painting redone, and Ikea

So the last month has been mostly busy with life.  This weekend we got some time to work on the house though.  Knowing that I disliked the paint color previously selected (I have decided that I don't care much for the color blue indoors), we purchased a new tint of living room paint.  It is a grey that leans heavily in the brown spectrum rather than blue.  Then I embarked on finishing up the downstairs bathroom.  We had left the downstairs bathroom without one baseboard, and as such I purchased a nailgun, cut some baseboard and went at it.  During that time Gail painted.

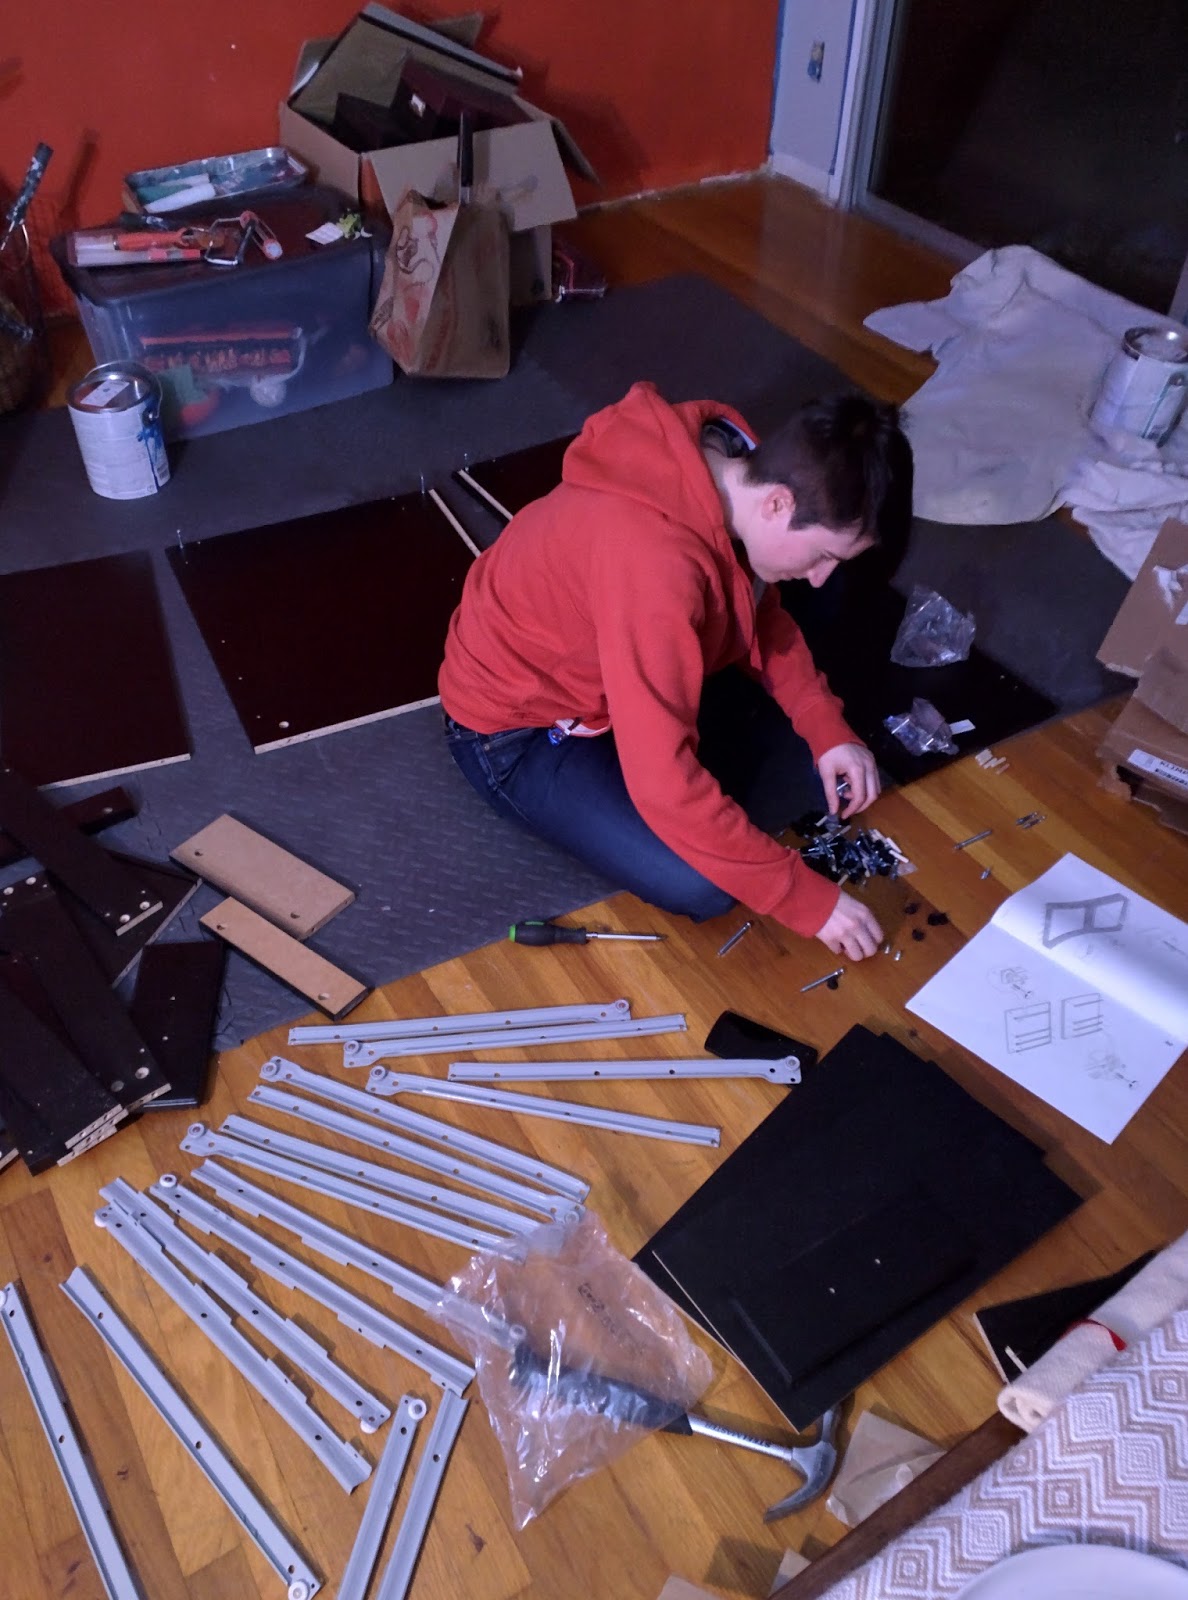
Gail assembling Ikea furniture:


Yay! Our new end table for the couch.

My project of a monitor stand I think turned out well:


New nail gun toy for baseboards:

 Baseboards are done and the bathroom is finished:


 Me cutting the baseboards, this was a dremel but I also used a chop saw:


The new living room color.  It is actually more gray/brown (Gail says warm gray) then it comes up too in this photo:


The goods at Ikea!


Thursday, August 27, 2015

Back from the drawing board ...sorta.

So Eric kindly didn't pressure me to work on the house in my summer rush to prepare my portfolio for the annual SCBWI summer conference. But after the bathroom downstairs sat untouched by us for over a month, we were both ready to have the nice shower working again. So we did what any lazy individual would do: call in the pros. So now all that is left in the bathroom is some minor touch-up painting, doorknobs on the sink cabinet, a small bit of baseboard, and getting some artwork on the walls. Oh, and to find the second door pin that I misplaced while painting the door frame. oops.

Because of this, we had a working downstairs bathroom just in time for the upstairs bathroom shower to crap out on us--either that or our tinkering with the downstairs plumbing caused issues with the upstairs plumbing.

The next project is to get back to painting the kitchen cabinets, which I did a little bit 2 weekends ago and potentially will do a bit more of this weekend.

I'm putting the first coat on the outsides of the bottom cabinets with the help of my favorite reality tv shows on the laptop. The color is nice, but we'll definitely need a second coat.

The installed toilet and sink

The photo reminds me we also need to buy a toilet-paper holder, since we forgot one when we bought the towel racks.

the shelf notch that we were hesitant to do ourselves from inside the cabinet.

the shelf notch from below with the shortened pipes and new quarter-turns.

Monday, July 6, 2015

The bathroom continues

We are getting close!  We have finished painting and tiling.  We did a dry fit of the vanity on Sunday and determined we need some assistance.  I have a coworker who has offered expertise and tools to try and complete the project.  The thing that stymied us was the fact since the new vanity is ~2" wider then the previous one, the shower tiling is going to require doing a notching of one tile to fit the sink lip.  Then we need to figure out how the baseboards are going to fit around the vanity.  Should we have the vanity body slightly pushed away from the wall, or should we cut the baseboard and put them around where the legs of the vanity are going to be.  We could also possibly notch the back of the vanity legs.  Lots of options.

Oops I sheared the head of the screw off, thus we glued the decorative cover over it...


 Don't electrocute me! :)


Monday, June 29, 2015

more paint

For those curious, here is the final color swatch chart. Now I need to start breaking down colors further into percentage mixes and light/dark. I won't go into it, but for any art geeks that follow this blog, you can learn more here. Since cutting down my watercolor paper for use in a printer leaves me with odd sized scraps, this will give me something to do with all the excess scraps. Basically, practice, practice, practice until mixing for just the right color is second nature.


But enough about art. You're here for a house. Progress moves forward at an inchworm's pace. We cleared out the dining room and bought the rest of the peel-n-stick tiles to cover the subfloor. The pile of kitchen doors now resides in front of the unfinished orange wall, so if I want to finish that, I have a lot of painting to get through first. Good motivation.

After priming the bathroom, I realized that one of the sample quarts of color that I was selecting from would probably not be enough color for 2 coats in the bathroom. I solved that problem by mixing two of the sample quarts (gray, naturally) together to get the final color for the bathroom. Why this color again? Well, first I don't need to buy more paint. That's always good. Second, this color is a neutral midtone. It takes the bathroom away from stark white, since the shower is completely white, the toilet is white, the sink is white, the cabinet is off-white and the new tiles are white. The color of the walls is fairly close to the color of the grout we used. And for added contrast, our new towel rack and vanity are practically black (technically, the color is espresso). The white-grey-black sets a solid foundation for my second favorite thing: COLOR! (Eric is the first favorite, duh.) We can bring in color with the accessories, linens, etc and if we ever want a change to the look/feel of the room, we just swap out the surface decor and swap in a new color for an instant update.

I started with the hardest corner and went slowly, cutting in around all the fixtures
Gray!
Photos of the walls from different angles. A fisheye or wide angle lens would be useful here.
While I don't love the cabinet and medicine cabinet, they are functional and we didn't want to add further costs to this bathroom right now. I'll think about swapping them out after the other bathroom is remodeled.

Sunday, June 21, 2015

Look at all the pretty colors!

Since I'm not going to show you my works-in-progress, I figured I'd show you what else I'm "working" on.


This is my watercolor mixing chart. Since I bought new watercolors and since I haven't created one of these in about 10 years, I figured I'd test out the color blends. The diagonal down the center is the pure, from-the-tube colors (although I did get my red a bit light, since it looks like pink). The grid has the labels of each color down the side, and where the two colors cross, they get mixed together. Usually I stop at the mixed triangle, but I'm trying something new on the right and I'm adding white gouache to each of the mixes, which softens/desaturates each color slightly from just pure pigment. The full outer row that is complete is the mirror mix to the full outer row on the left, and so on, once I have all the colors mixed

When I start working on the color portion of each of my pieces, I will have this grid nearby as a reference to help guide me to the best colors I need to achieve the emotional resonance I'm going for. 

Thursday, June 18, 2015

Radio Silence

We're working on stuff for the house, but we've slowed down quite a bit, as forewarned. Plus, we forgot to take photos of most of the recent stuff, like assembling my art chair, and eric's sit/stand desk, and removing the last of the wallpaper from the bathroom. But most excitedly for Eric, we are now able to park BOTH cars in the garage! woohoo!

In other news, why aren't you getting more posts from us? I'm busy! Here's a taste of things to come:

Wednesday, June 3, 2015

BBQ and Friends...LOTS of awesome friends


My new art desk, a gift from an awesome friend. My reward at the end of the long weekend was getting to assemble this!
I was going to do a second post for the second half of Memorial Day weekend, but then I forgot to take photos. My friend Danielle and her significant other, Jim, came to our house to help us prime the living room, then we had a lovely dinner! It was the first time we got to eat at our table, which is currently residing under the pergola on the back patio. One day it'll find a home again inside the house.

This past weekend was our big 4-day push to make progress on the house before slowing down on our workload so I can work on other things on my nights and weekends. We had a bunch of people at the house to help out.

Our first visitor was John, who helped us remove all the knobs and hinges from the kitchen cabinet doors so they could be spray painted later in the weekend a bright pop of color! We would have preferred to replace the fixtures, but with 23 doors and 8+ drawers, that's a LOT of hardware and the least expensive I could find were $2.50 each! I chose the $10 for 2 cans of spray paint option. My artist friend, Tania, was the one who helped me color the knobs and hinges, and she also helped with priming the hallway and stairwell.

Steve and Lisa came down from Santa Cruz to spend the majority of the weekend with us and help us tackle the large project of the weekend: replacing the flooring in the downstairs bathroom. This included demolition of the particle board subfloor, measuring, cutting and installing the new cement board subfloor, then cutting and laying the new tile and grouting. One paragraph doesn't do justice to how mammoth this project was, particularly since at some point throughout the entire weekend 7 different people worked on this task in one way or another as we tag-teamed this project. I got to lay some tile and grout, then do the touch-up grouting.

Our friend Philip helped us tape off the ceiling and doorways and paint the first coat of color in our living room. Later in the weekend, Philip and Eric put down the temporary linoleum flooring in the kitchen. When Philip's wife, Jenny, arrived with their kids, we put Jenny and the kids to work painting the accent wall in the living room--bright orange! It's intense, but awesome! And if we find that we don't like how the wall looks after all our furniture is placed in the room, we'll repaint it to another color--probably the same dark blue color that will be on the bottom kitchen cabinets if I ever get around to finishing those.

Scott, our regular visitor, came and was awesome. He rocked it by always being around to help just when you needed someone to assist and he got some of the less fun tasks of the weekend, such as cleaning all the hardware before we painted it, being the one willing to go on one more errand when the 2 home owners are getting angsty, and--of course--demolition! Ok, maybe that last one was fun.

I tackled wallpaper for my big project of the weekend, in the art room and in the bathroom. It sucked and after a full day of working on one wall, we have decided to save our pennies (and our energy) until we can pay for the art room walls to be professionally refinished later on in the year. I still have plenty of wallpaper to tackle in the kitchen and that has only one layer.

The one negative to the weekend was the icky rodent problem continues. I don't want to think about it, so I'm not writing about it.

But enough talking. Photos!

Painting:
The wall getting a second coat with the help of some enthusiastic assistants. It'll need at least one more coat before I'm happy with it.
While this was more mid-weekend, I wanted to start the photos off with a splash of color: "Cayenne"! 
more taping
Philip taping off the walls prior to the painting above.
The first coat of color. This grey is a bluish grey called "adirondack"
Painting by torchere, since that's the only light we have in the living room at night.
Lisa cutting in color around the doors and edges. She helped me pick out this lovely color.
Everyone's a critic

Bathroom Tile (vaguely in order):
Farewell vanity! Yay for powertools! The new vanity will be about 4 inches taller, better for our heights.

Particleboard demo 
more demo. Go Steve!


This project had a regular audience throughout the weekend

brothers!

our new subfloor. The wonderboard is wonderful.

prepping for the circular to fit around the toilet.

tile trimming, prior to renting the tile saw. Steve cut all the tiles and dryfit everything prior to mixing the thinset.

more tile trimming, using nippers. Don't ask me how C painted his face orange, we still don't know.

Add caption

demo, close up

Sealing the seams of the subfloor.

and the tile goes down!

Eric's turn!

laying the thinset mortar.

Phil's turn!

Gail's turn!

Mixing the thinset--everyone was interested (gail was scraping wallpaper)

I got to lay the last of the tiles in the bathroom. 

And to lay in the first of the grout the next day after the mortar had set

It's a dirty job.
Eric's turn, grout and clean
The finished product! We still have to seal the tile, finish removing wallpaper, seal the walls, then paint before we can put the toilet and new vanity back in place. 
Kitchen:
Scott cleaning the kitchen hardware

It's mine! My precious.

Tania priming while the guys lay tile
more kitchen tile
The finished kitchen (and partial dining room) tile. Still no cabinet doors--that'll be another weekend.
Spray painting the hardware! I went for a bright yellow-green that will really pop off the white and dark blue cabinets. 

The Art Room:
The evil wall of wallpaper--2 layers!
Scraping off the first layer. Note: daytime
yep, still working. Note: nighttime. wallpaper, you suck.
While this is a perfectly decent bookshelf, it was built into the FRONT of the closet, leaving a bunch of open space behind it. Space I need to put art supplies.

Look at how deep that closet is. That is my new large paper storage and printer/scanner access, with bookshelf above.
Chillin':
Lisa

Eric and his birthday gift: hot sauce!

John and Phil

Playing cards with the kids

I picked up some wooden trays so the kids could make some mosaics with the scraps of tiles. In the foreground is my tray with reject tiles. I didn't realize at first that i bought 2 slightly different sizes of tiles. Luckily there were only a few sheets of the odd size.
There is no more Lisa, only a jungle gym for children.